

The robot costume problem
Most AI robot images fail in the same way: the model replaces the person with a machine. That is a great character design and a terrible Halloween costume preview. The viewer cannot tell whether the costume is wearable, whether the face is visible, or whether the person could actually move in it.
A wearable robot costume has a different brief. The face stays human. The armor sits around the face, not over it. The materials look like something a person could build or buy: foam panels, painted plastic, fabric undersuit, LED strips. The image should read as a costume, not a render.
The tested look
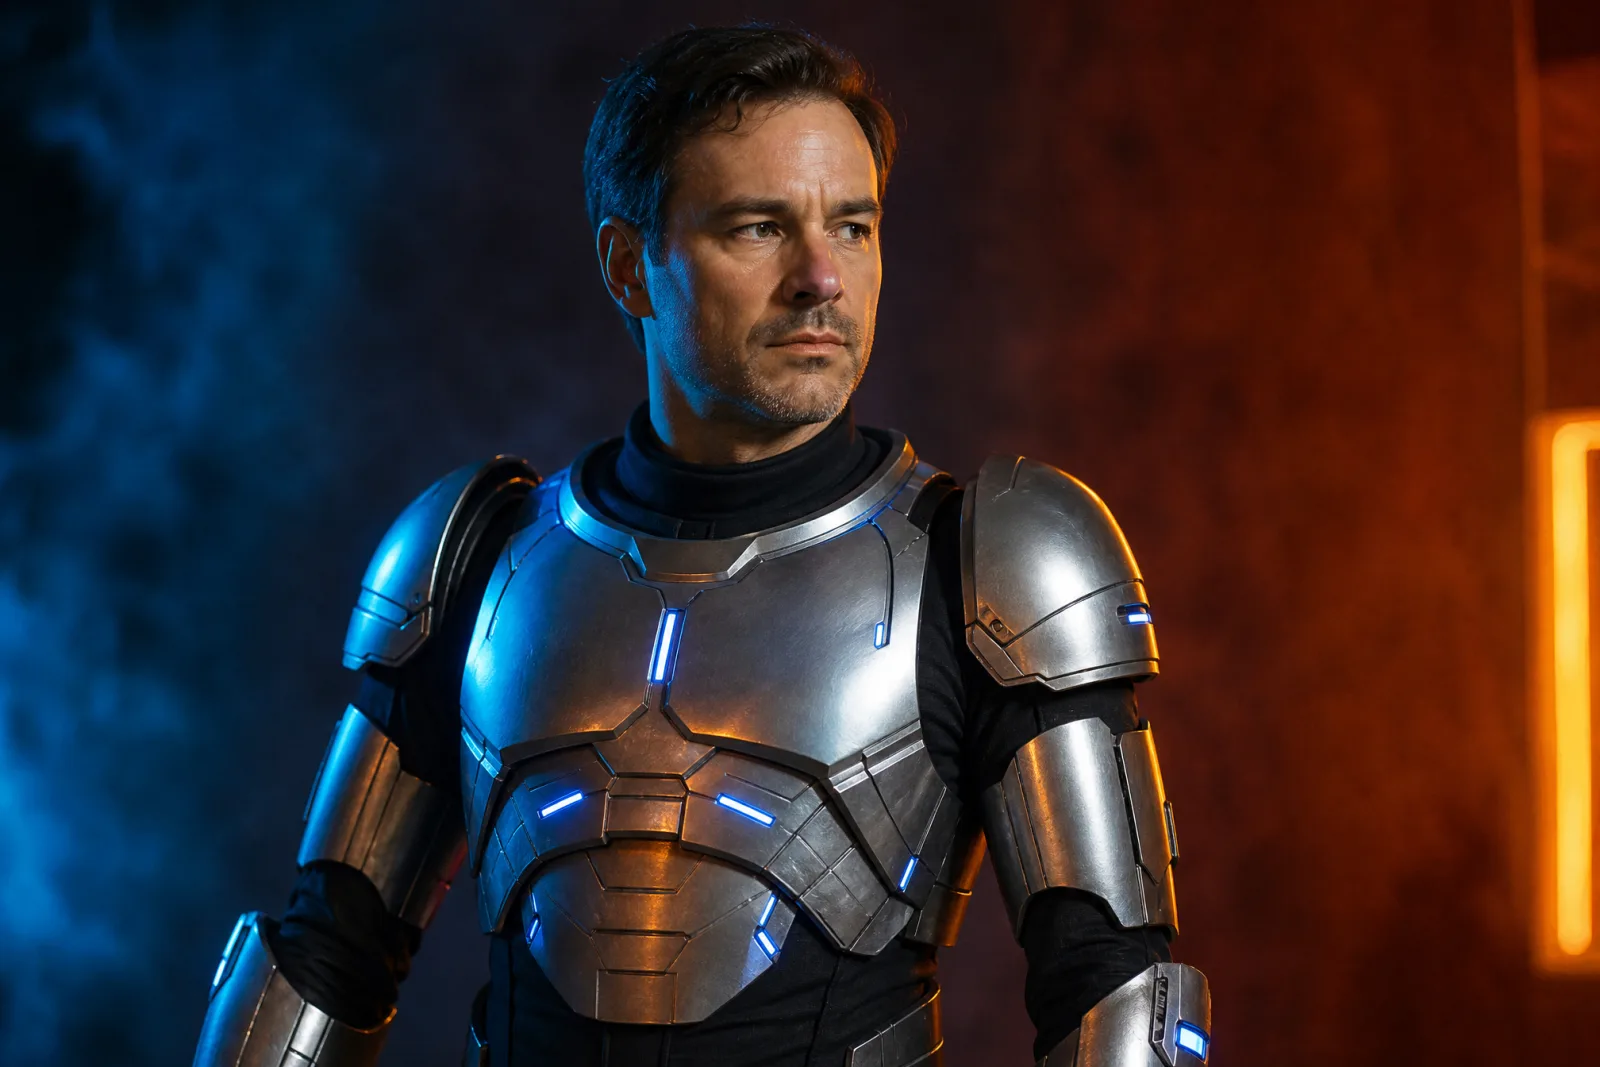
Wearable Robot uses brushed silver panels, subtle blue LED accents and articulated shoulder pieces over a black undersuit. The prompt protects the face, the skin tone and the pose, and explicitly forbids a robot head. The lighting is blue-and-orange cinematic studio light, which gives the metal a readable shape without turning the image into a game screenshot.
Wearable versus CGI
The difference is in the details:
- Wearable: visible seams, foam edges, a fabric undersuit, a human neck, a face that is lit by the room.
- CGI: perfect symmetry, floating parts, a full helmet, a face that glows from inside, no attachment points.
If the first result looks like CGI, add "handmade cosplay", "painted foam", "visible seams" and "a costume worn by a real person". Remove words such as "advanced", "nano" and "exoskeleton" that push the model toward a machine.
The prompt, part by part
- Identity. Preserve the face, skin tone, head proportions and pose.
- Costume. Metallic-looking armor panels, subtle LED accents, articulated shoulder pieces.
- Wearability. "A believable costume worn by a real person, not a mechanical character."
- Light. Blue-and-orange cinematic studio lighting, realistic material reflections.
- Failure list. No robot head, no extra limbs, no duplicated body parts, no logos, no text.
The wearability sentence is the one most prompts miss. Without it, the model optimizes for "robot" rather than "robot costume".
Photo tips
- Keep the head and shoulders in frame. The armor needs a body to sit on.
- Use a neutral pose. A crossed-arms pose hides the shoulder pieces; a T-pose looks like a reference photo. A relaxed stance works best.
- Avoid a busy background. A dark studio or a simple wall lets the metal read.
- Take the photo in even light. The model will add its own cinematic lighting; a harsh source photo makes the relight harder.
Common failures and fixes
Robot head. Remove "helmet", "visor" and "mask" from the prompt. Add "the human face is visible and recognizable".
Floating armor. Add "the armor is attached to a black undersuit" and "visible straps and seams". Attachment points make the costume believable.
Plastic skin. Add "natural skin texture" and "realistic skin". Metal lighting can spill onto the face and make it look synthetic.
Extra arms or hands. Simplify the pose and remove props. Armor prompts invite the model to add mechanical limbs; say "keep the original number of limbs".
Logo or text. Add "no logos, no brand marks, no text" to the failure list. A shiny chest plate is a natural place for the model to invent a label.
Building the real costume
If you want to make the costume, the image is a reference for shape and color, not a construction plan. The panels in the image may not correspond to real materials. A practical build uses EVA foam, a black undersuit, painted edges and a few LED strips. Keep the face opening large enough to see and breathe, and check that the shoulder pieces do not restrict movement.
For a group, generate each person with the same palette and the same costume language, then place the portraits together. A family robot set works better as a series of single portraits than as one group prompt.
Cost and iteration
One image run costs 8 credits on the default lane. The 100-credit pack is $9.90, which covers about twelve runs. The workbench shows the cost before you submit, and the pricing page lists every lane.
Robot images often need two or three runs: one to check the face, one to fix the wearability, one to improve the metal. Change one sentence at a time. If the face is right but the armor looks like CGI, keep the face sentence and rewrite only the costume sentence.
From still to motion
The AI Halloween video generator can animate the portrait with a slow head turn and a gentle push-in. Keep the camera steady and avoid flashing lights; fast light changes and quick moves are the two things most likely to warp the armor. A five-second clip is enough to make the still feel alive without giving the model time to drift.
For the full prompt text, see Halloween AI prompts. For the main costume workflow, see the AI Halloween costume generator. For pets, couples and makeup, open the Halloween hub.